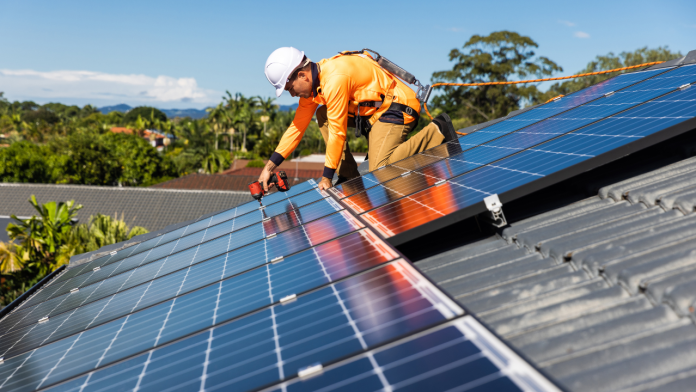
420W monocrystalline solar panels work well for people who want maximum energy output plus reduced electricity costs over time. You need to install solar panels correctly to get the best results for both quality and durability. Installers must carefully follow all installation steps when installing solar panels in rooftop or ground-mounted systems.
Understanding 420W Mono Solar Panels
420 watt solar panel use advanced technology that produces high power output even in dim light conditions. Each panel type, including 420W mono single-sided solar panels, features one piece of sturdy glass covering for an extended lifespan. These panels deliver dependable power output and have a 30-year service warranty to ensure long-term performance. They work well in multiple setups, making them perfect for home and business installations.
Pre-Installation Considerations
Choosing the right spot for panel installation should be your first step. Set your solar panels on the roof or ground to capture the most sunlight available. Solar panels produce less energy when they receive shade from surrounding trees or buildings. Contact local authorities to confirm the permits needed and solar installation compliance rules.
Tools and Materials Needed for Installation
The installation of 420W mono solar panels requires specific specialized equipment and supplies. You need the following elements to set up solar panels: mounting brackets, electric wires, step-up modules, and connection points. To protect yourself during installation, you need safety equipment (such as gloves and goggles) and a body harness for safe work. Setting up solar panels demands reliable safety equipment and appropriate tools for trouble-free installation.
Step-by-Step Installation Process
- Mounting Structure Assembly and Positioning
Begin installation by following the manufacturer’s instructions for assembling your mounting system. Position the frame at 30 to 40 degrees for best sunlight access.
- Connecting Solar Panels
Link your 420W solar panels through strings built in series or parallel to match your system’s power requirements. More solar panels connected in series raise system voltage levels while linking panels in parallel raises output current.
- Wiring and Inverter Connection
After you link the panels together, wire them to the inverter. An inverter changes the DC power that solar panels produce into usable AC power for home or office applications.
- Grounding and Safety Measures
A safe electrical ground protects your system from power surges. This essential safety practice stops electrical fires and shock risks before they occur.
Testing and Optimization
After installation is finished, start testing how well the new system works. Test the system’s performance by reading voltage and current levels with a multimeter. Fine-tune panel tilt and position for the highest energy creation performance. Track the power system performance regularly to confirm it handles energy needs effectively.
Maintenance Tips for Long-Term Performance
To keep your 420W mono solar panels working at peak performance, you must clean them regularly. Routine panel cleaning reduces efficiency loss from dust, dirt, and debris, so do it every three months. Regular checks help detect problems with the panels. Monitoring your energy output will enable you to detect and resolve energy problems quickly before they become major.
Conclusion
Setting up 420W mono solar panels demands thorough preparation, the proper installation tools, and precise steps. Following these guidelines helps your solar panel system maintain peak performance throughout life. Make sure to work according to established methods that protect your system and functionality.


